Allow/Deny IPs via web.config (SolidCP)

In order to allow or deny certain IPs via the web.config, please follow the steps below:

  1. Login to the SolidCP.

solidcp_1.gif

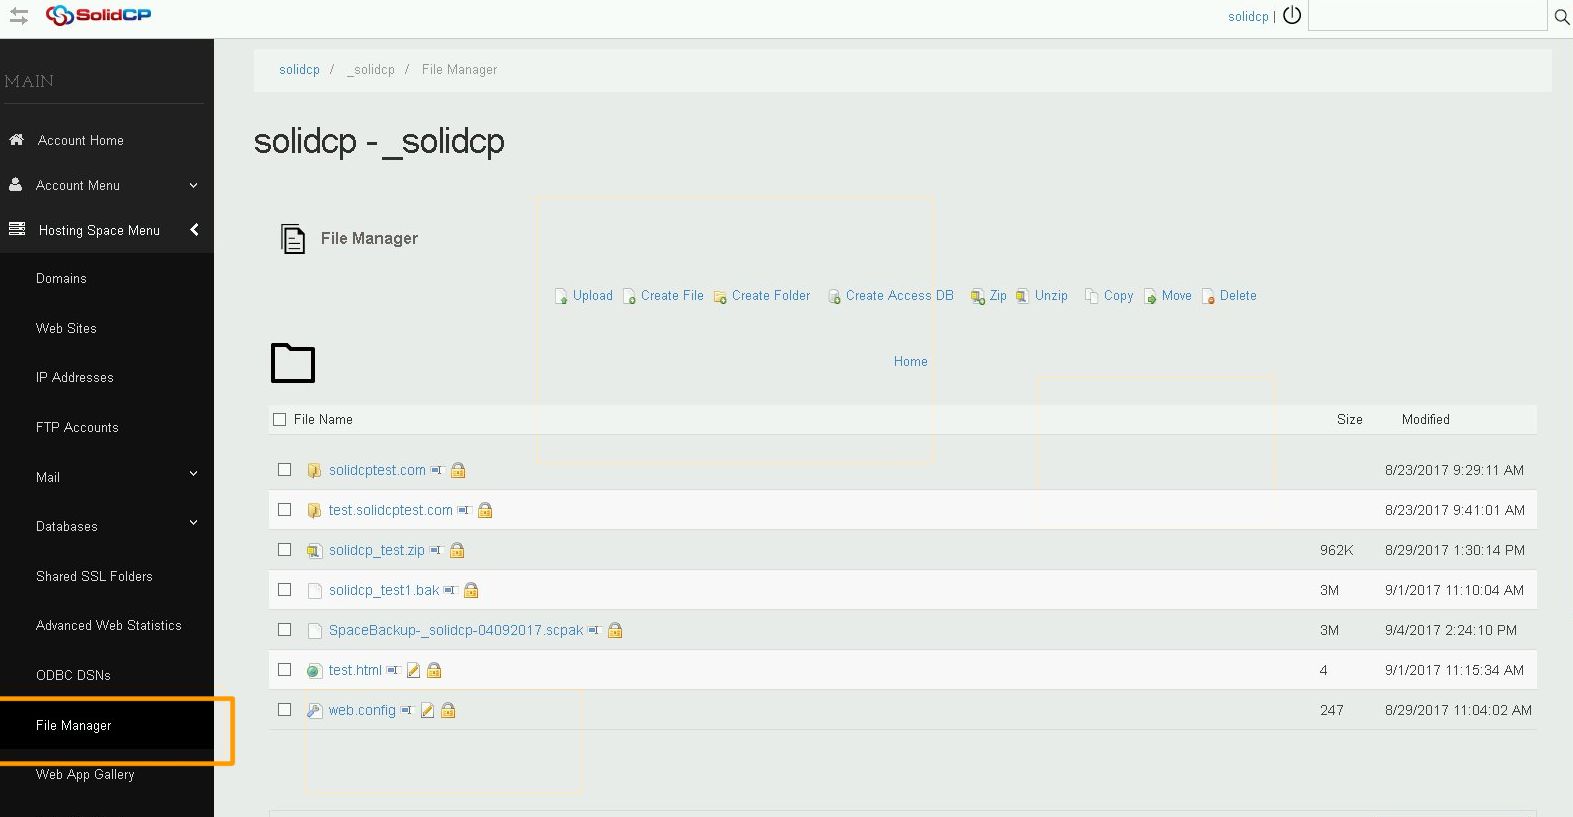
  1. Choose File Manager from under your Hosting Space.

filemanager.jpeg

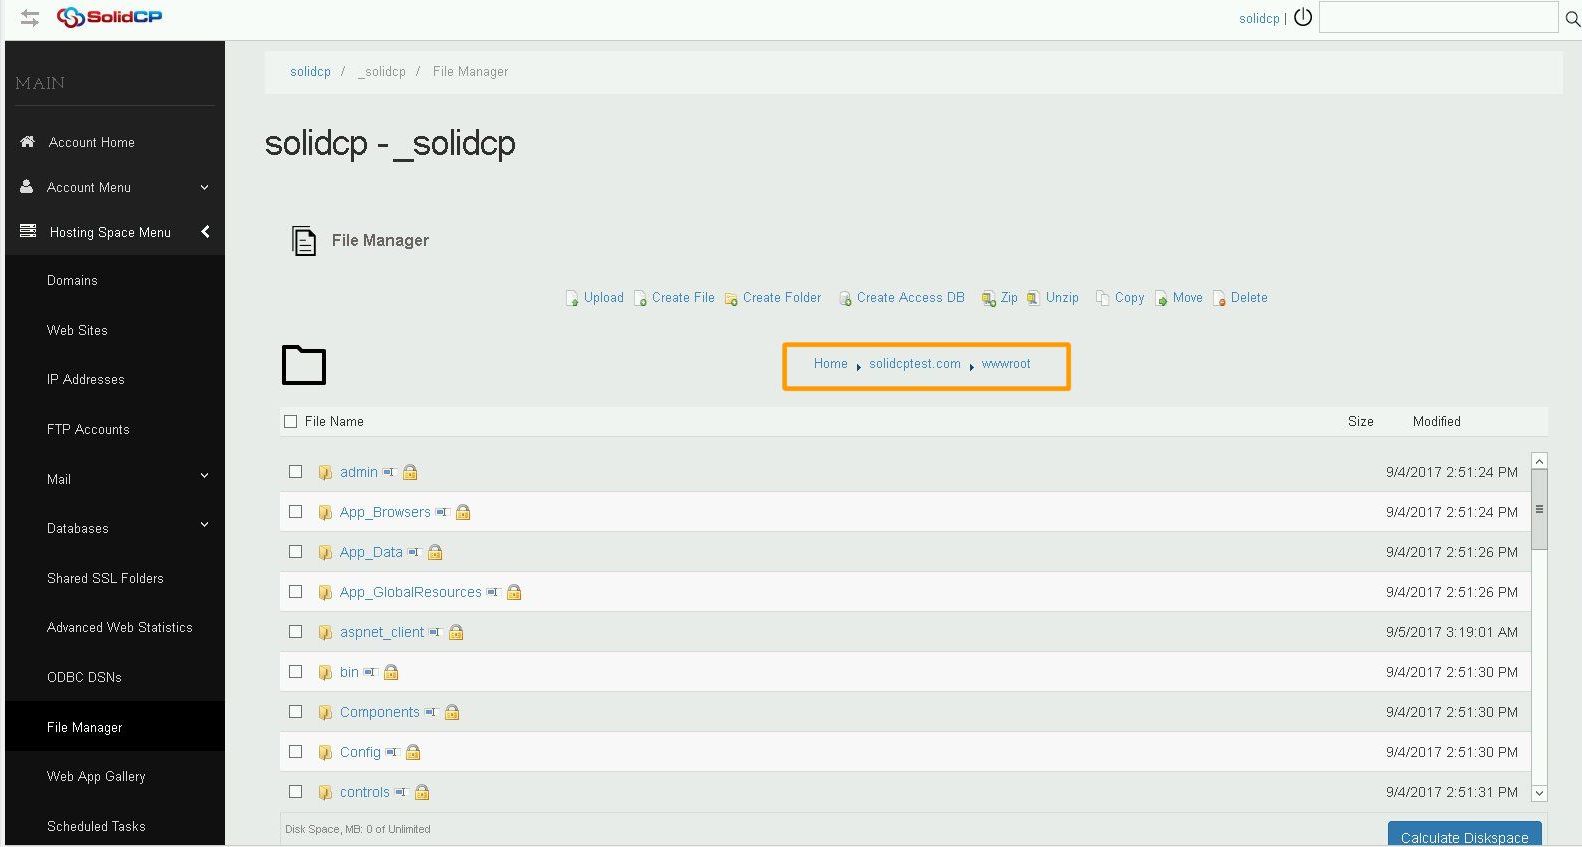
  1. Navigate to your domain.com/wwwroot/ directory and edit the web.config.

filemanager2.jpeg

  1. Add the following code into your web.config just under the  tag.

For blocking specific IP addresses:

PS: 10.0.0.1 being the IP you wish to block.

Deny all, but allow specific IPs or networks:


PS: 127.0.0.1 is allowed so the web-server/localhost can connect to your website and process your files.

If you wish to allow / deny a whole network rather than just one IP, you can add the following between the IP address subnetMask="255.255.255.0" (you will need to chang the subnetMask depending on the range of the network), so the completed line will look like this:

``

  1. After you are done modifying the web.config, click Save.
  • 2 Usuários acharam útil
Esta resposta lhe foi útil?

Artigos Relacionados

Your IP address has changed. Please log in again (cPanel)

If you are getting error like the one below when trying to access cPanel or your Webmail (on...

SolidCP Server information (Space summary) - Database

Hosting Space summary information gives you an overview of a particular hosting space and what...

Setting up ""default.aspx

You can do that by: Click the Domains shortcut in the navigation panel. Click the required...

SolidCP Upload limits

There is limit for max upload size on files in SolidCP. The limit is 200MB. If you want to...

How to connect to FTP with Web Browser? - cPanel

You can connect to FTP using your cpanel username and password or you can create new FTP account....

Powered by WHMCompleteSolution