This plugin only works on the following cPanel packages:
- Ultimate
- WP Professional
This article describes how to use the LiteSpeed Web Cache Manager to install LSCache for WordPress.
LSCache for WordPress uses advanced cache-management tools and optimization features to create an unmatched user experience, provides premium optimization features for faster page loading and improved scores on page speed measurement sites.
If you install Wordpress from our panel, the plugin will be automatically installed and activated.
-
Log in to cPanel
-
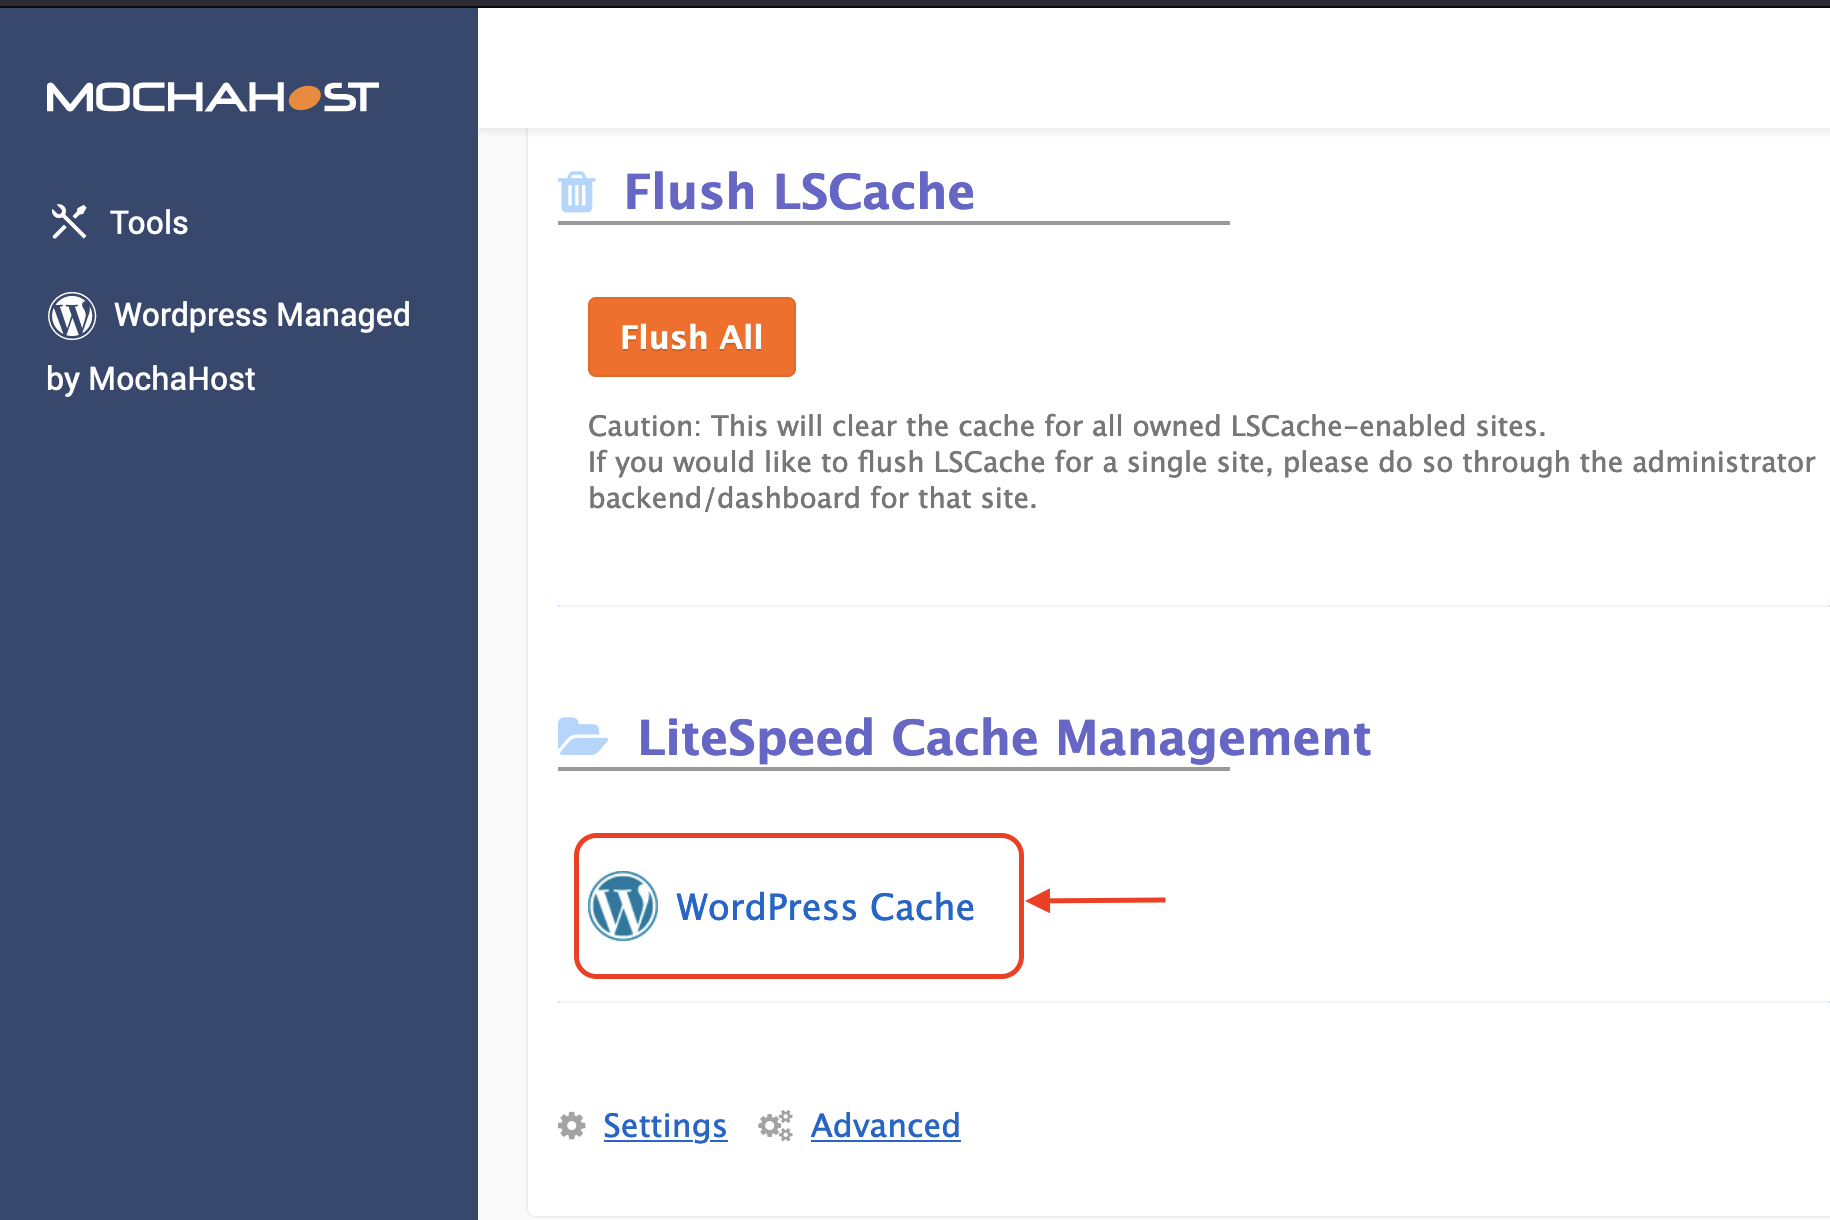
Click on LiteSpeed Web Cache Manager

- Under LiteSpeed Cache Management, click on WordPress Cache
-
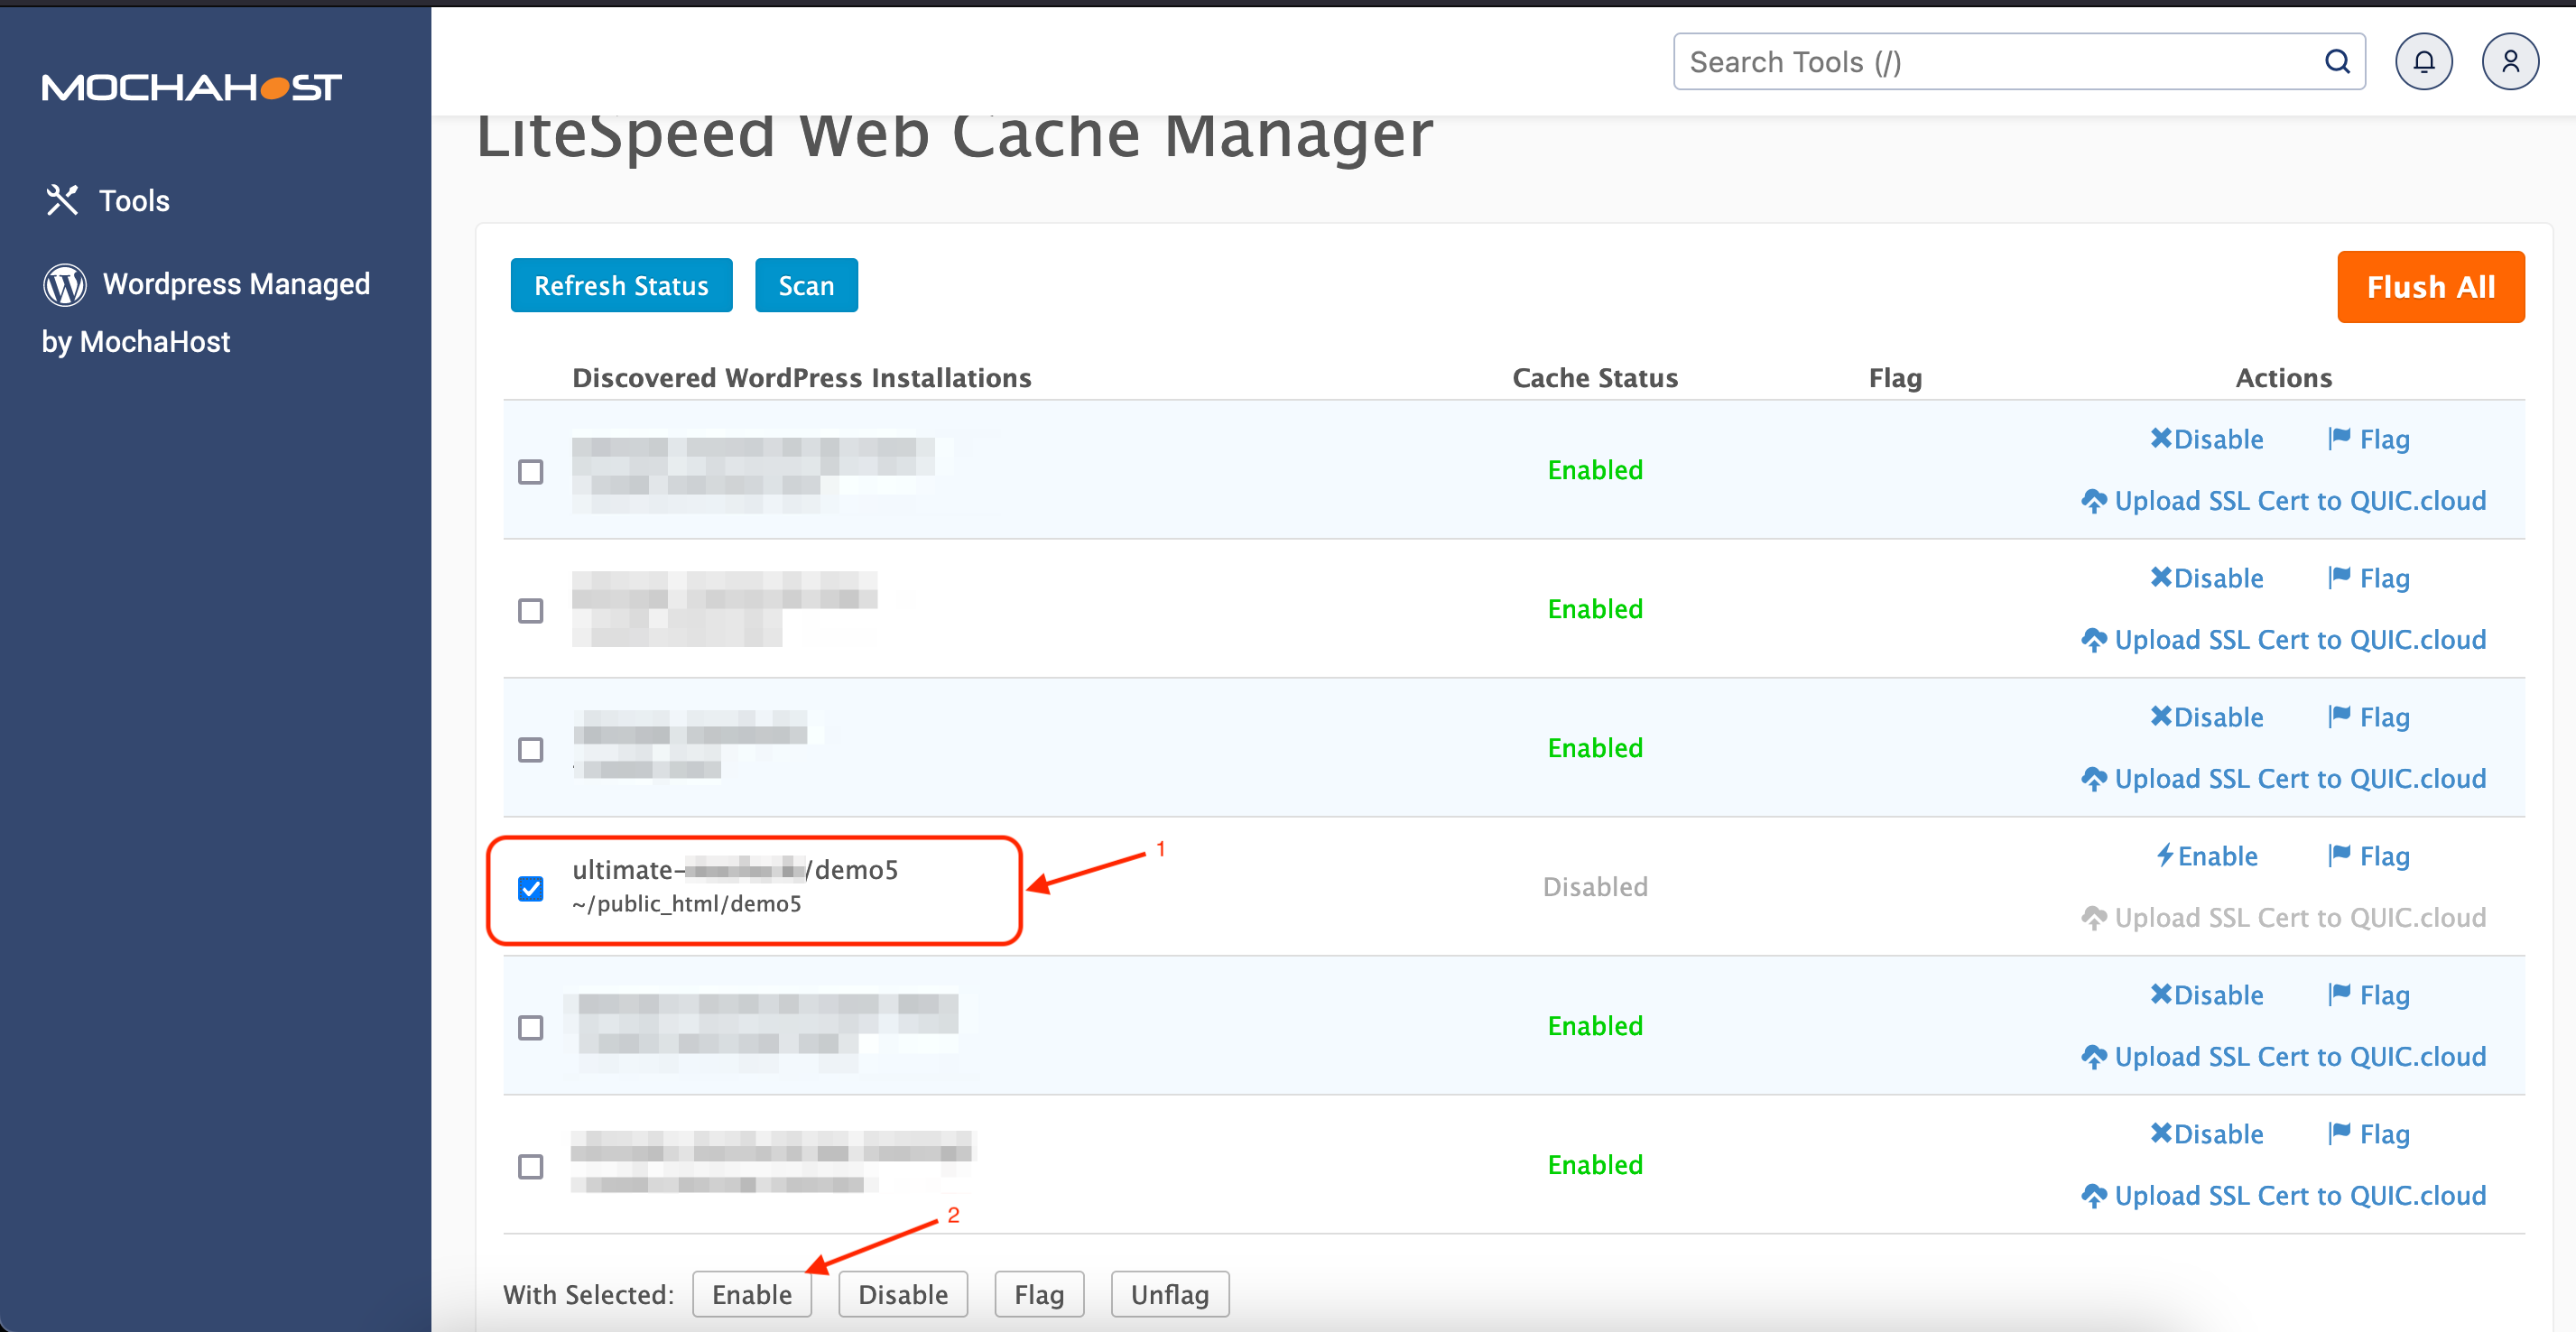
Click "Scan" to locate all installations of Wordpress
-
Select Wordpress installtions on which you would like to enable LSCache and click "Enable"
-
Open LSCache Check Tool.
-
Enter the URL you wish to check.
The tool will respond with an easy-to-read Yes or No result, and a display of the URL's response headers, in case you want to examine the results more closely.
